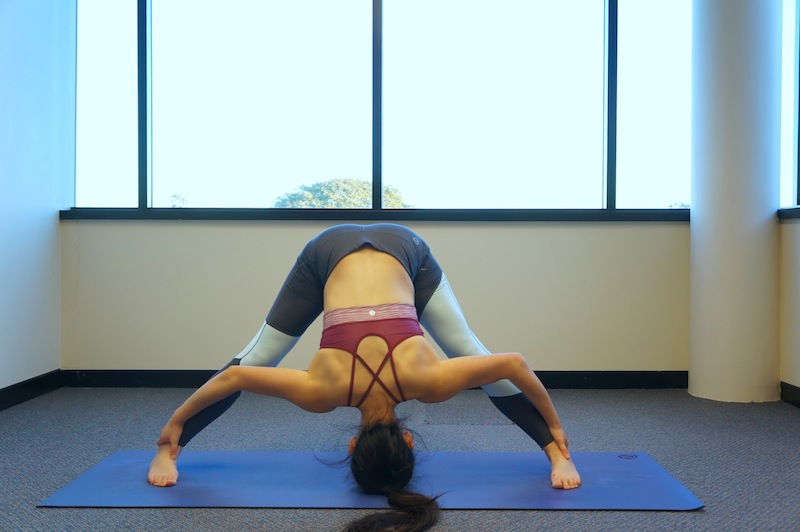
A juicy hip-opener that can become quite intense, goddess pose is great for opening the hips, groin and knees, and strengthening the thighs, buttocks, calves and ankles. SANSKRIT NAME Utkata Konasana ALIGNMENT & VARIATIONS Beginning in a wide legged stance (like...
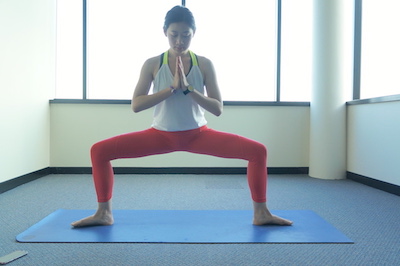
POSE OF THE MONTH: GODDESS POSE
read more